
Enhance Your Patio with Bloomaker Amaryllis Bulbs: A Step-by-Step Guide
Transforming your outdoor patio into a captivating floral haven doesn't require a green thumb. With Bloomaker Amaryllis bulbs, you can effortlessly infuse vibrant colors and natural elegance into your patio space. In this comprehensive guide, we'll walk you through the process of planting and placing these stunning bulbs, ensuring that your outdoor oasis blossoms with grace.
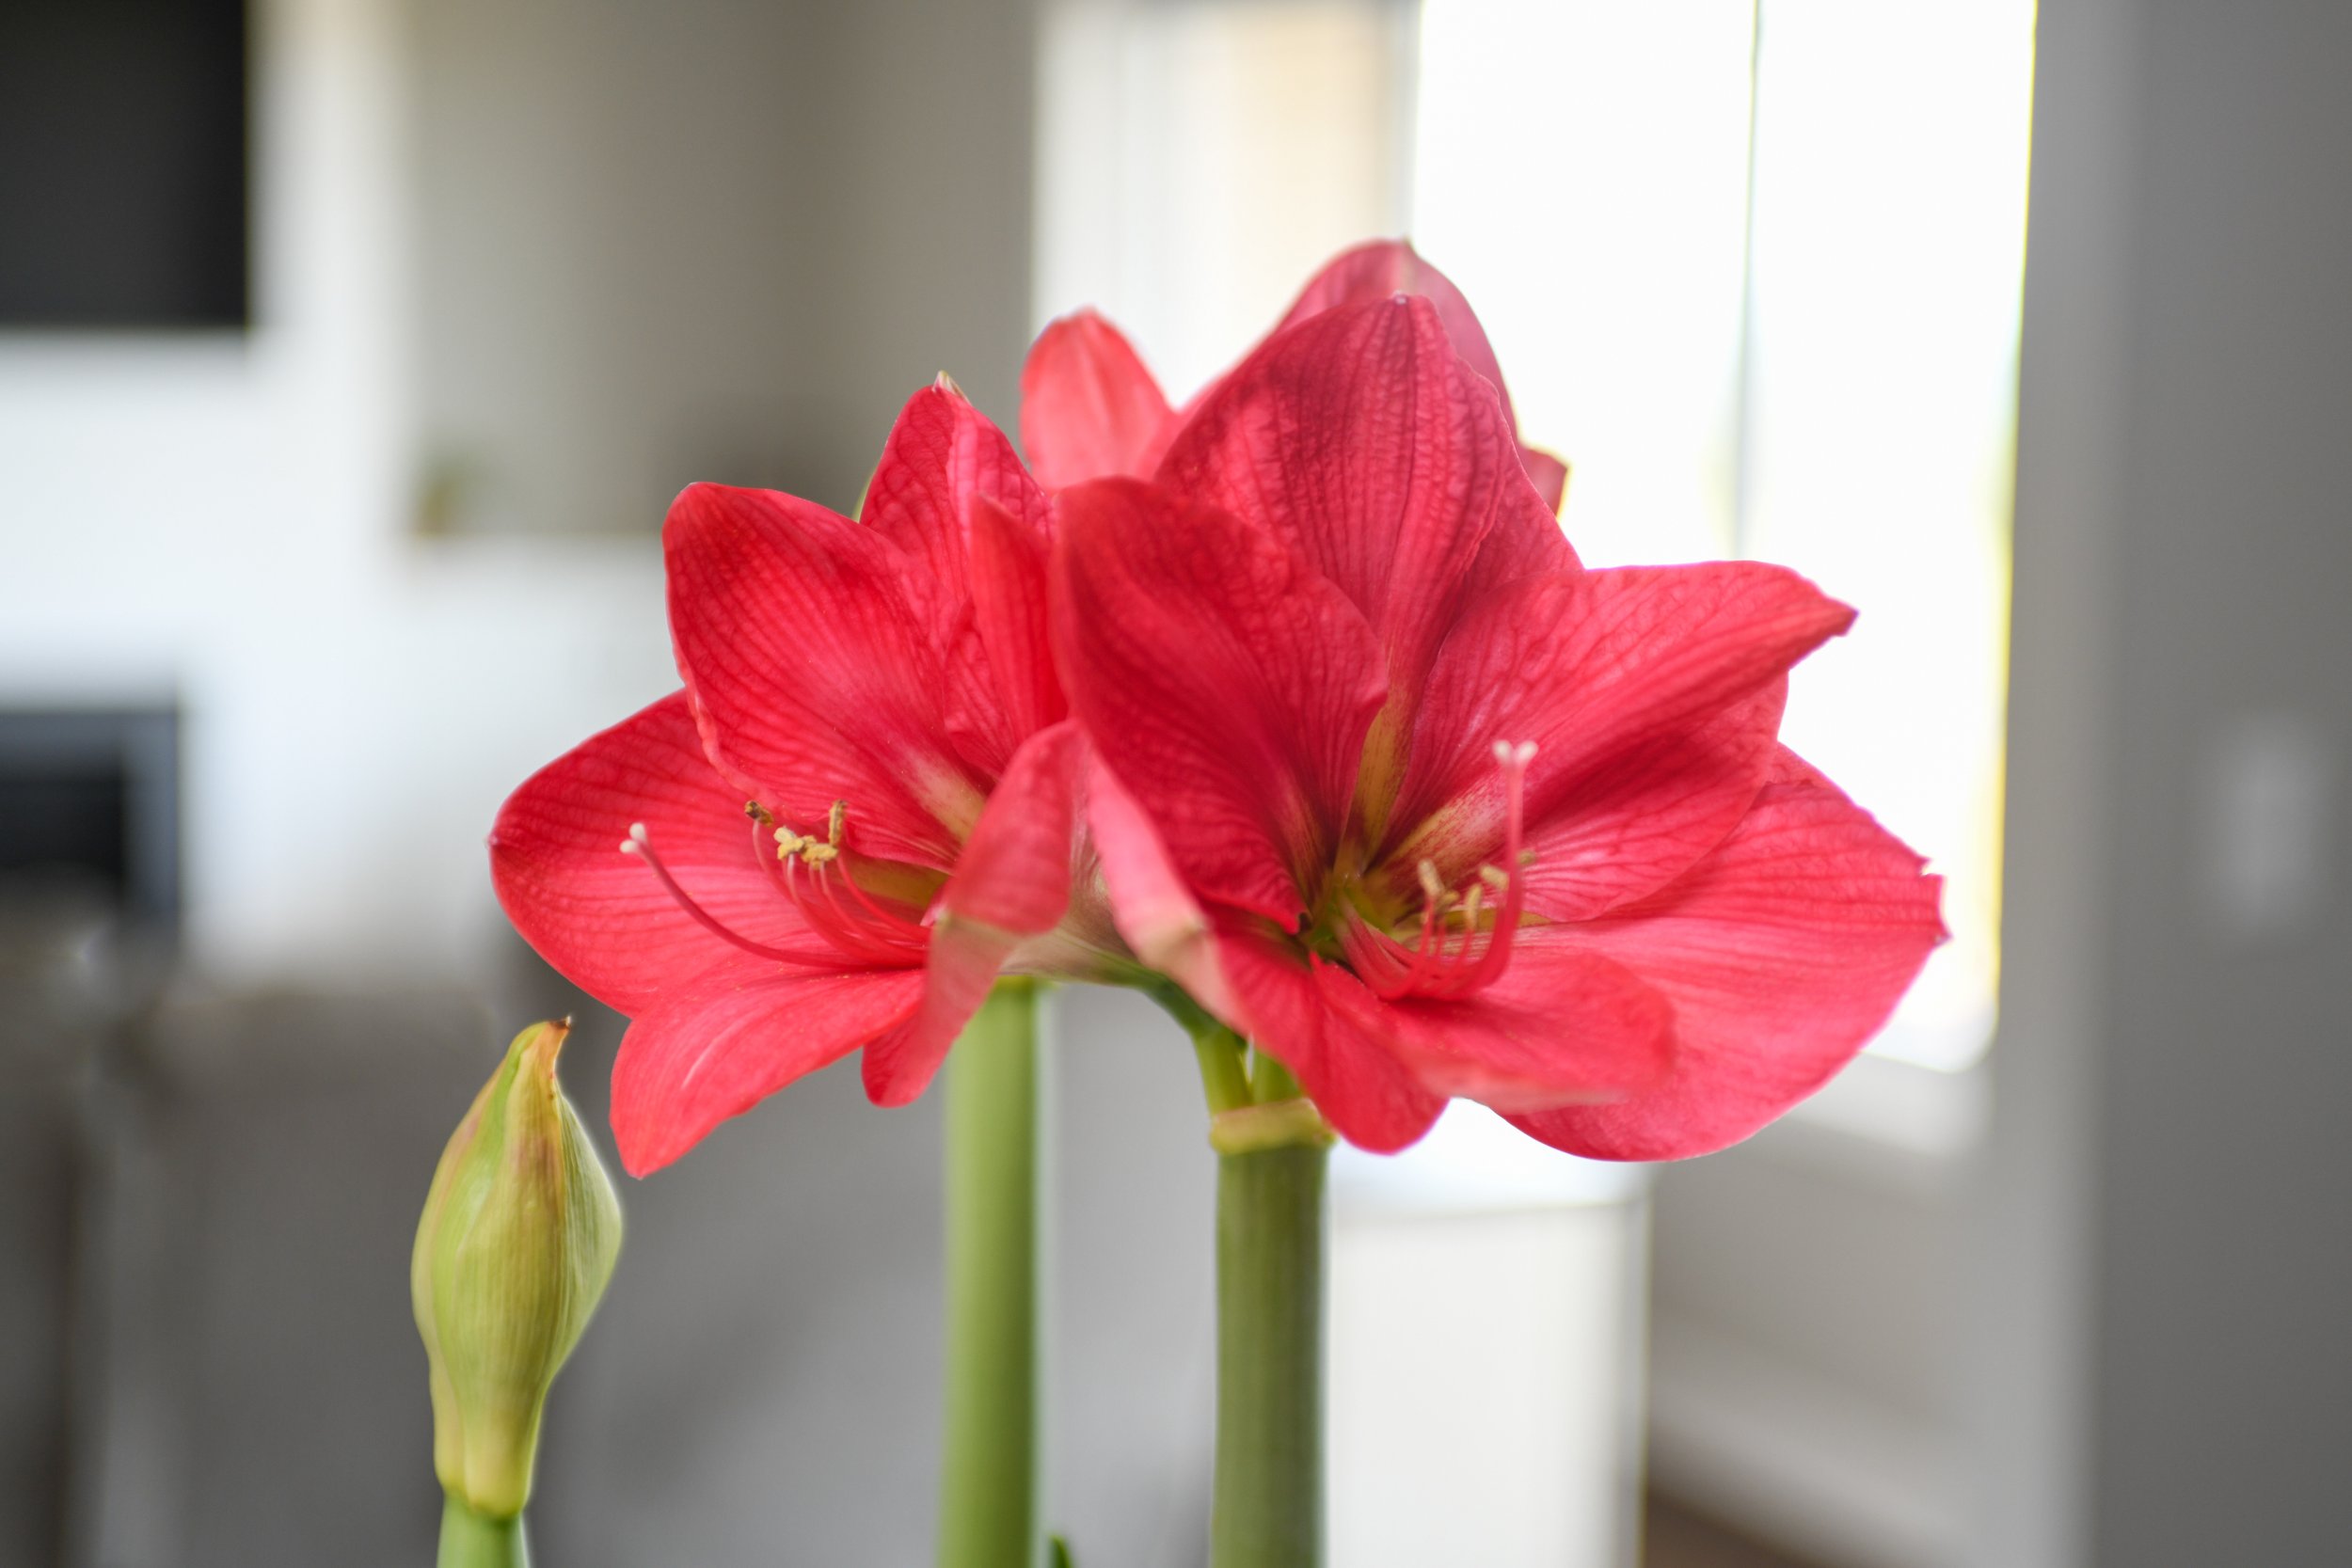
Step 1: Selecting the Right Amaryllis Bulbs
Begin your journey by choosing the perfect Amaryllis bulbs. Bloomaker offers a range of options, from classic shades to unique hues, allowing you to curate a color palette that complements your patio's aesthetics. Consider the bloom time and size of the bulbs, ensuring they fit seamlessly into your outdoor space.

Good quality, larger amaryllis bulbs ensure robust growth, vibrant blooms, and a longer-lasting flowering experience.
Step 2: Gathering Your Materials
Gather the essentials for successful planting. You'll need your selected Amaryllis bulbs, well-draining potting soil, suitable containers, and any decorative elements you wish to include. Remember, Amaryllis bulbs thrive in containers that allow for proper drainage.

When choosing containers, opt for those with drainage holes at the bottom to prevent water from accumulating around the bulbs' roots.
Step 3: Preparing the Containers
Choose containers that not only accommodate the size of your Amaryllis bulbs but also complement your patio's style. Ensure the containers have drainage holes at the bottom to prevent waterlogging. Fill them with well-draining potting soil, leaving about two inches of space below the rim.

Leaving space around the amaryllis bulb when planting allows for healthy root growth and proper airflow, promoting robust development and vibrant blooms.
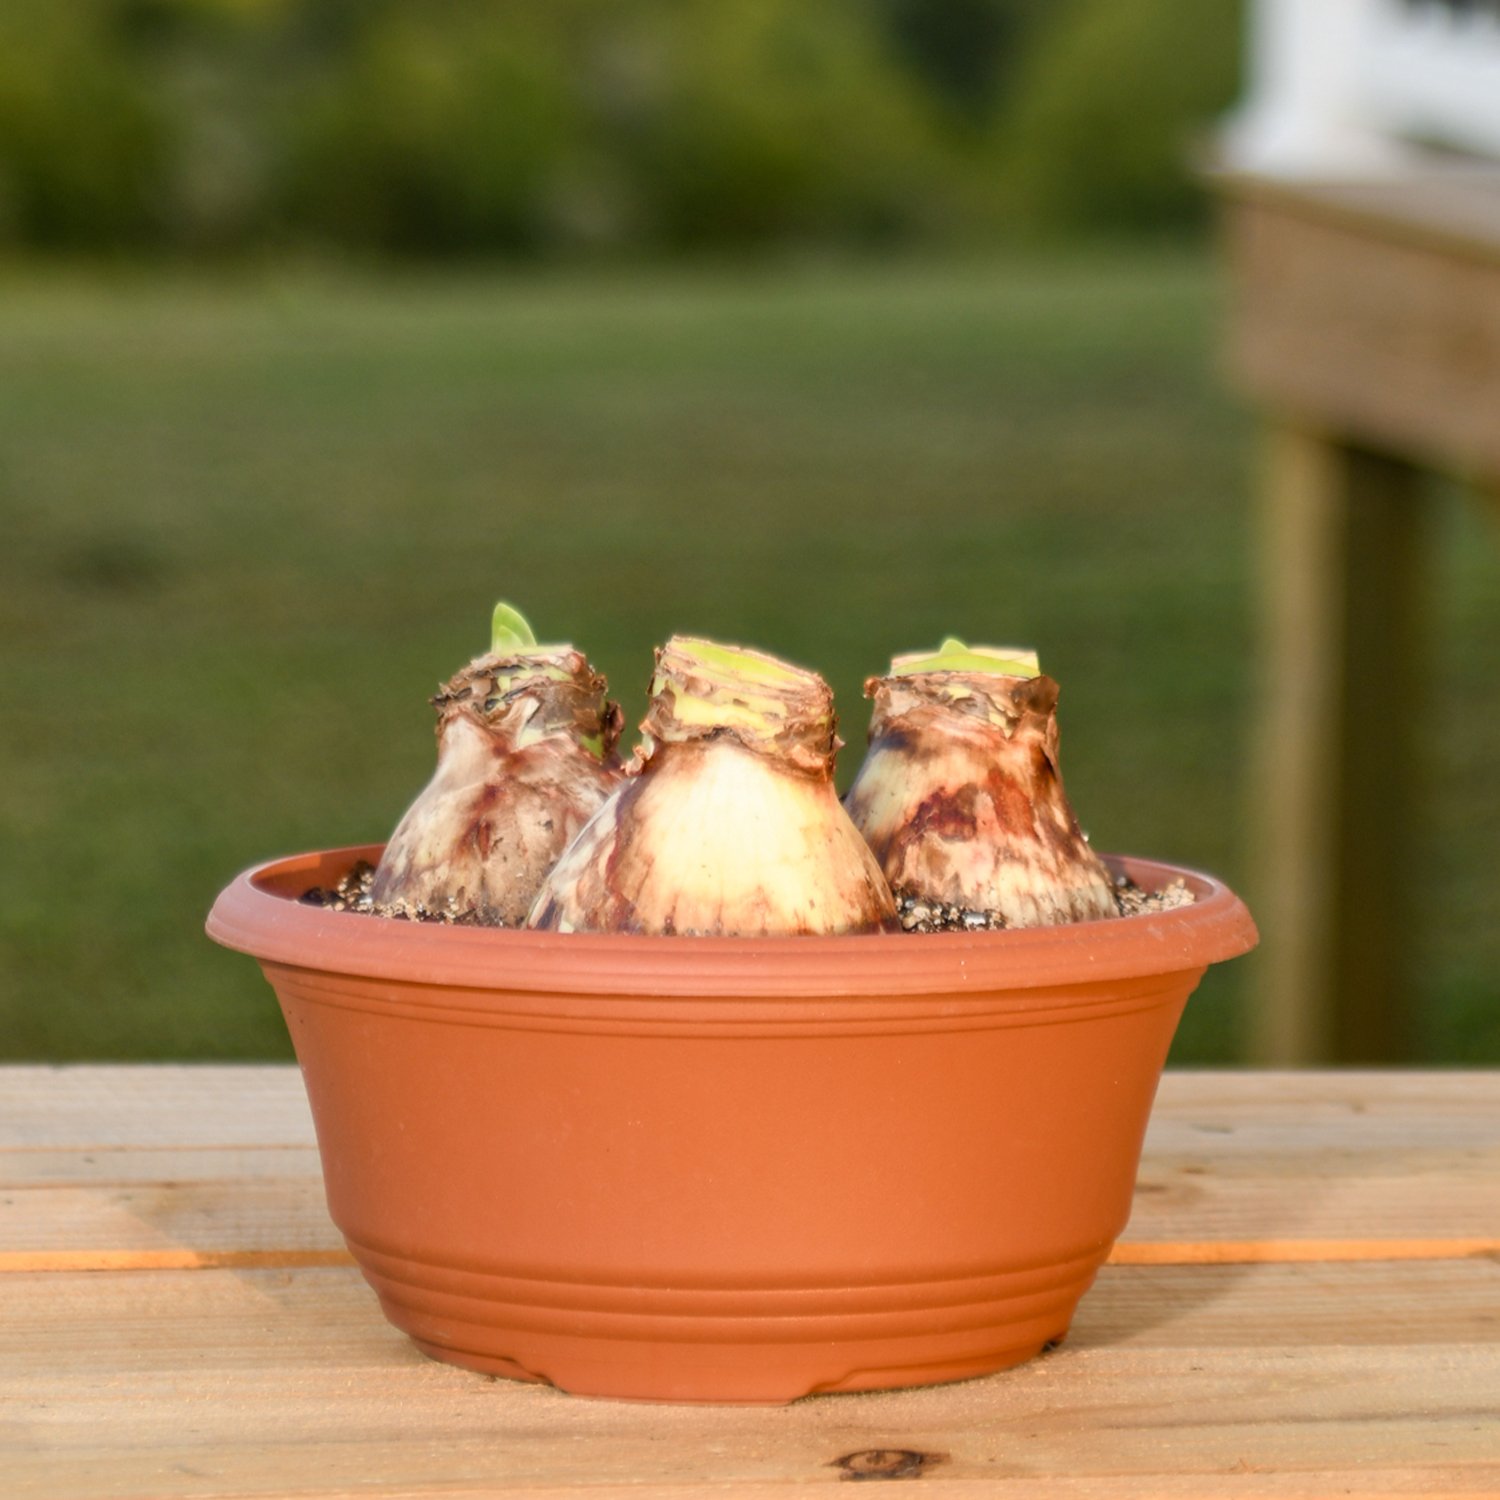
Step 4: Planting the Amaryllis Bulbs
Gently place the Amaryllis bulbs on the soil surface, ensuring they sit snugly without pressing too hard. Leave a small gap between the bulbs and the container's rim. This space allows for growth and proper airflow.
Overall, amaryllises are a great way to add positivity to any indoor space and they can last for weeks! So why not give them a try in your office?
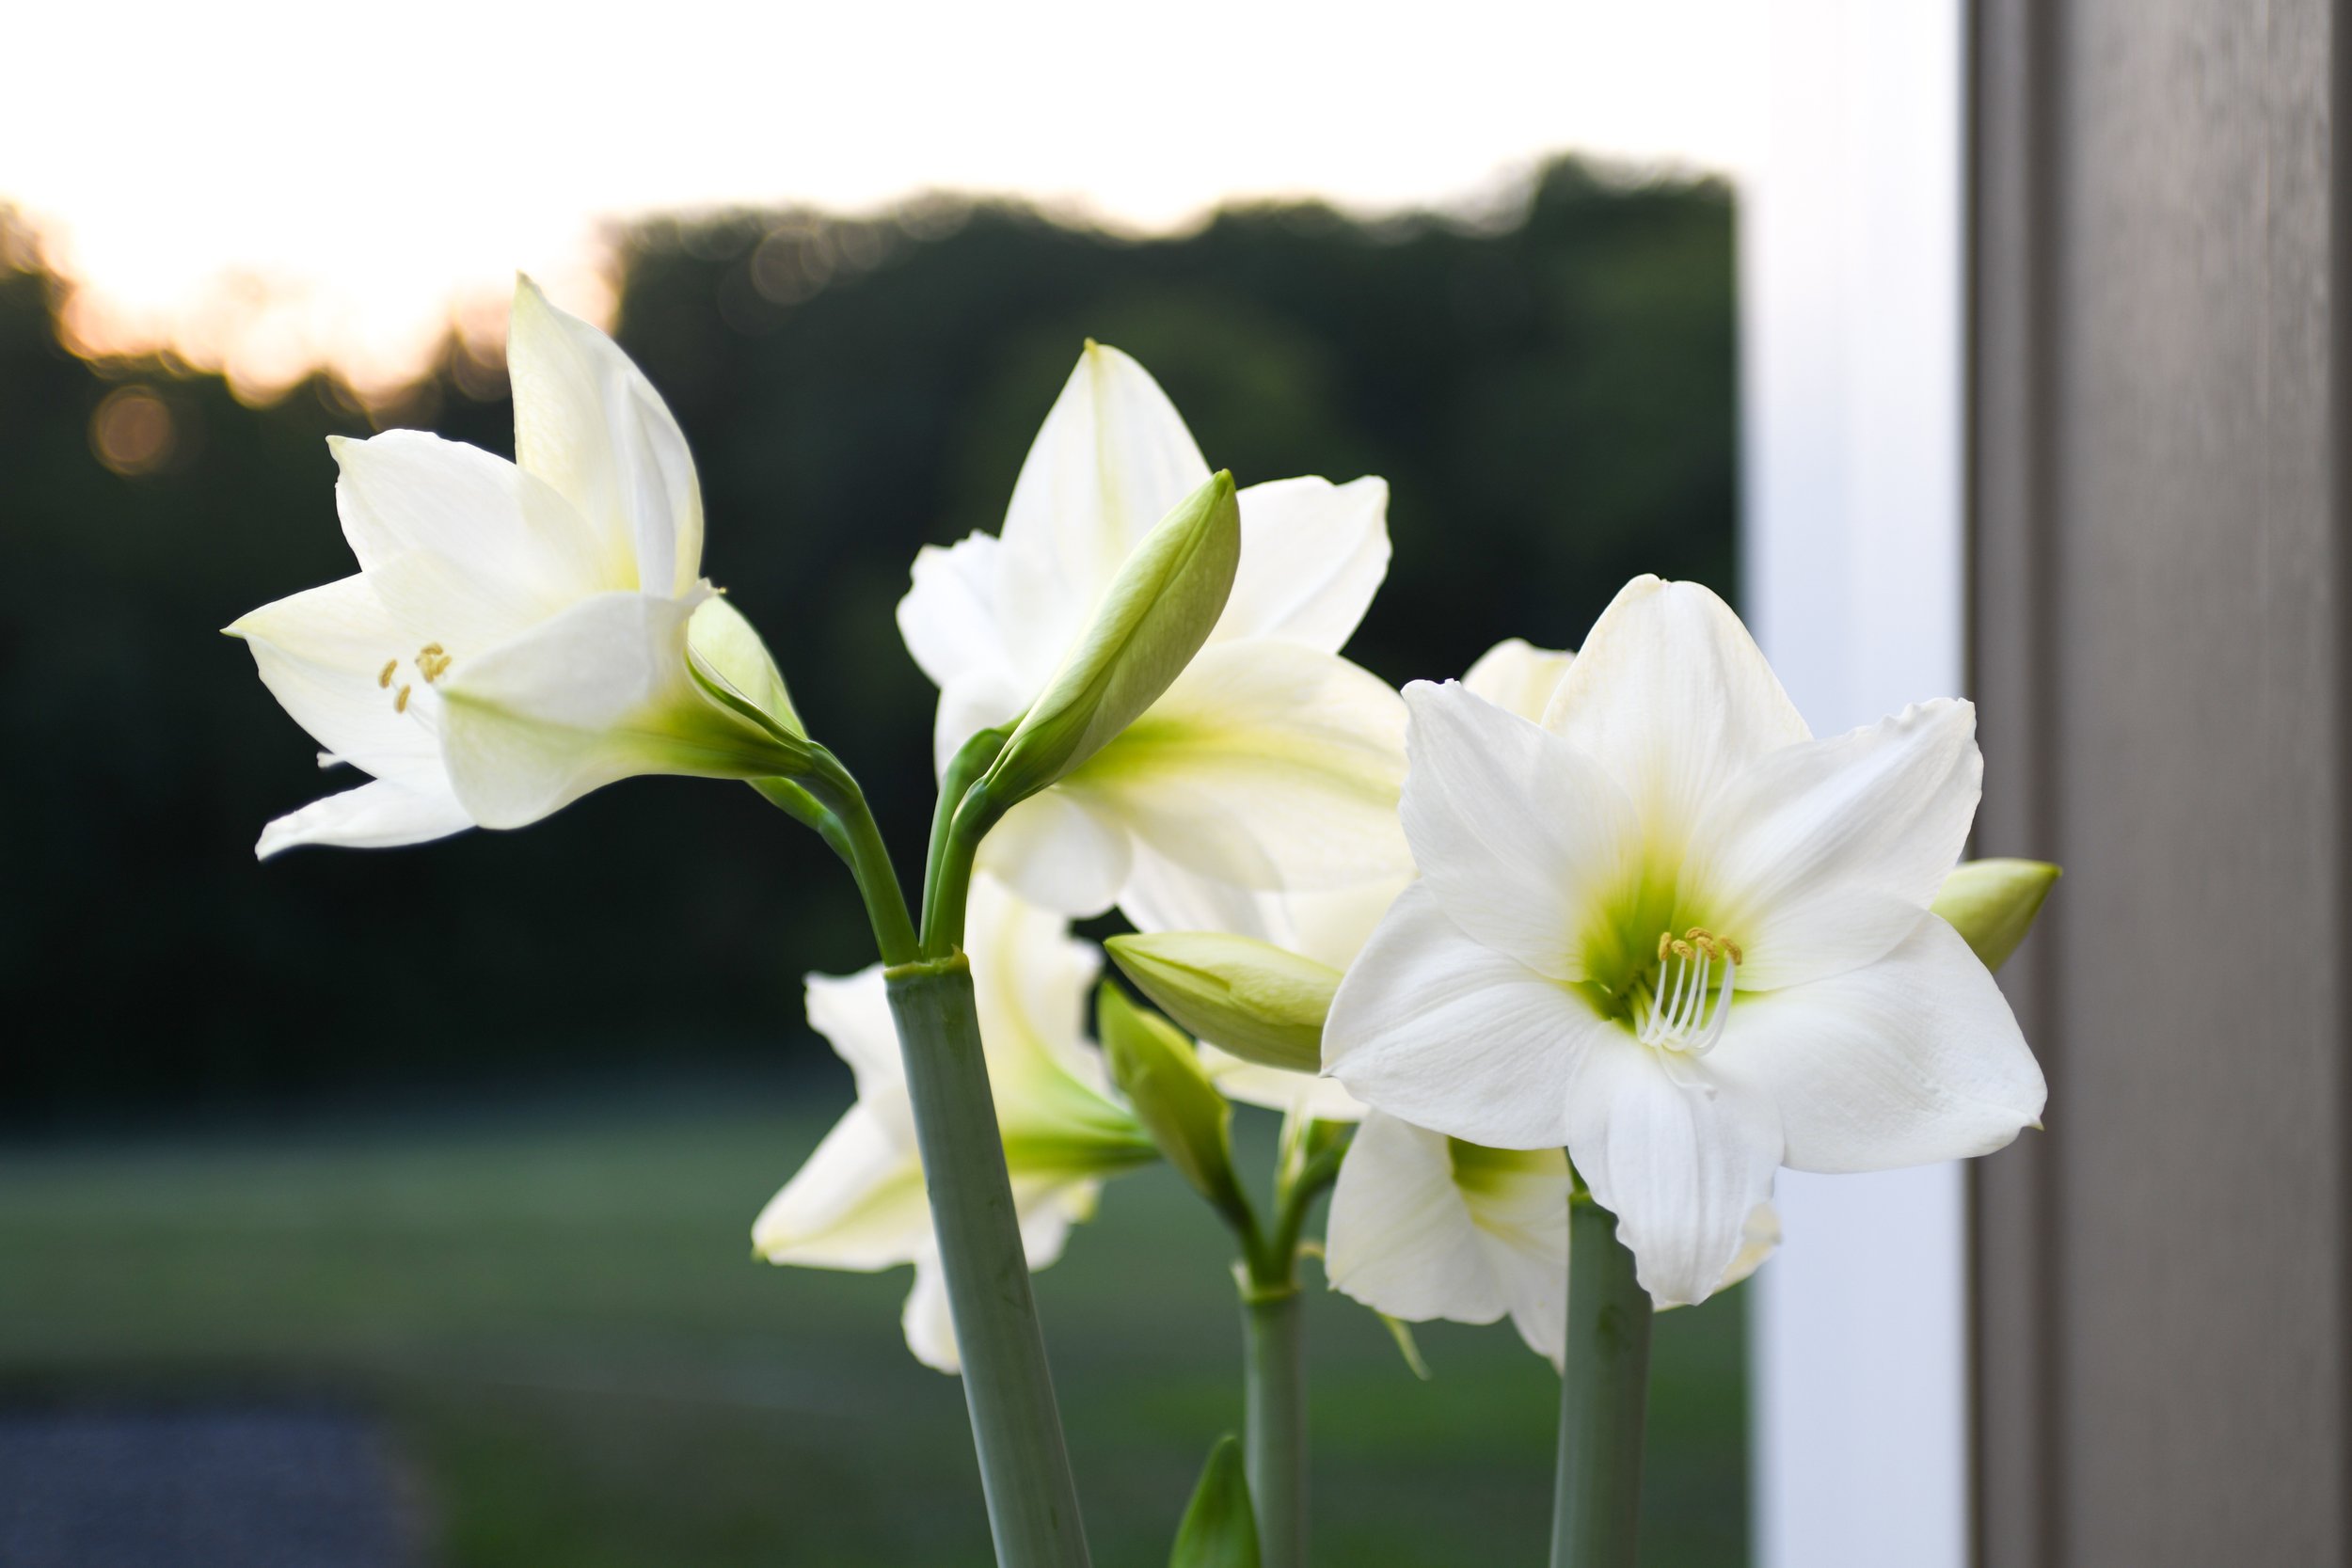
Step 5: Providing Optimal Sunlight
Select a spot on your patio that receives ample sunlight. Amaryllis bulbs thrive in bright, indirect light. Avoid direct exposure to harsh sunlight, as it can lead to scorching of the leaves and flowers.

Indirect sunlight shields amaryllises from intense heat and prevents their leaves and blooms from scorching.
Step 6: Watering and Care
Amaryllis bulbs require a balanced approach to watering. Allow the top inch of soil to dry out between watering sessions. Overwatering can lead to bulb rot, so exercise caution. Water the soil directly, avoiding the bulb itself.
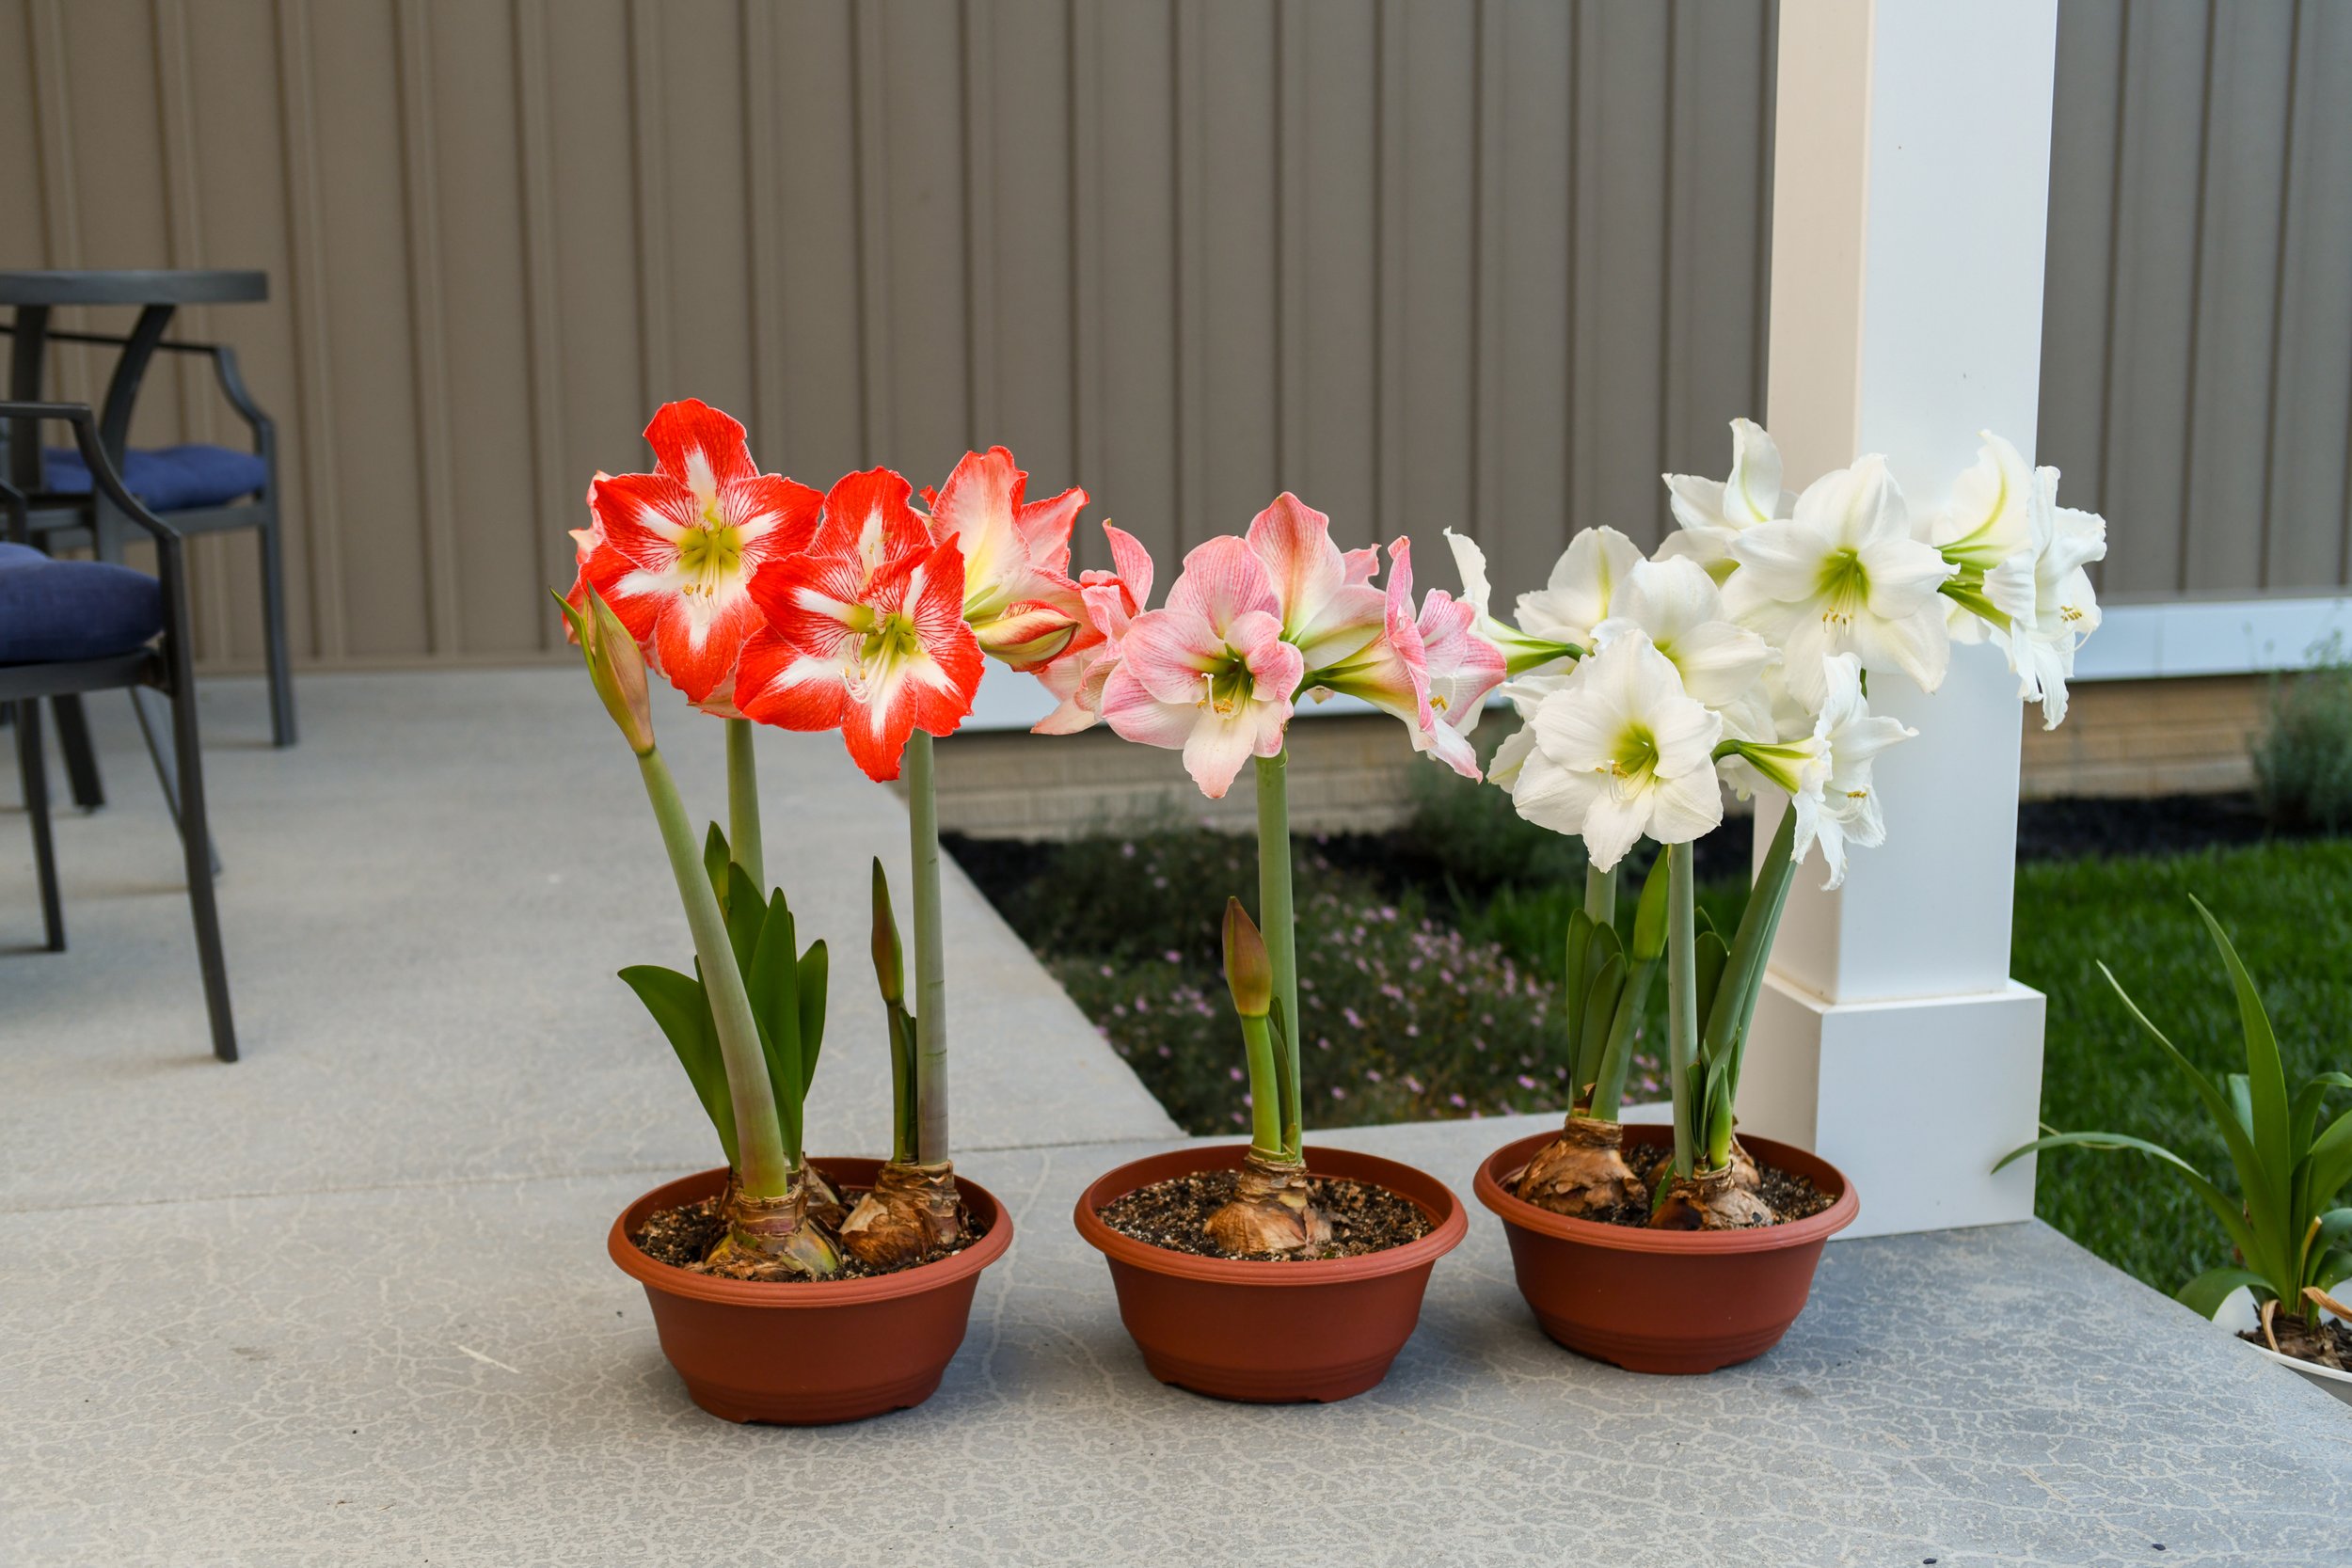
Step 7: Creating a Captivating Display

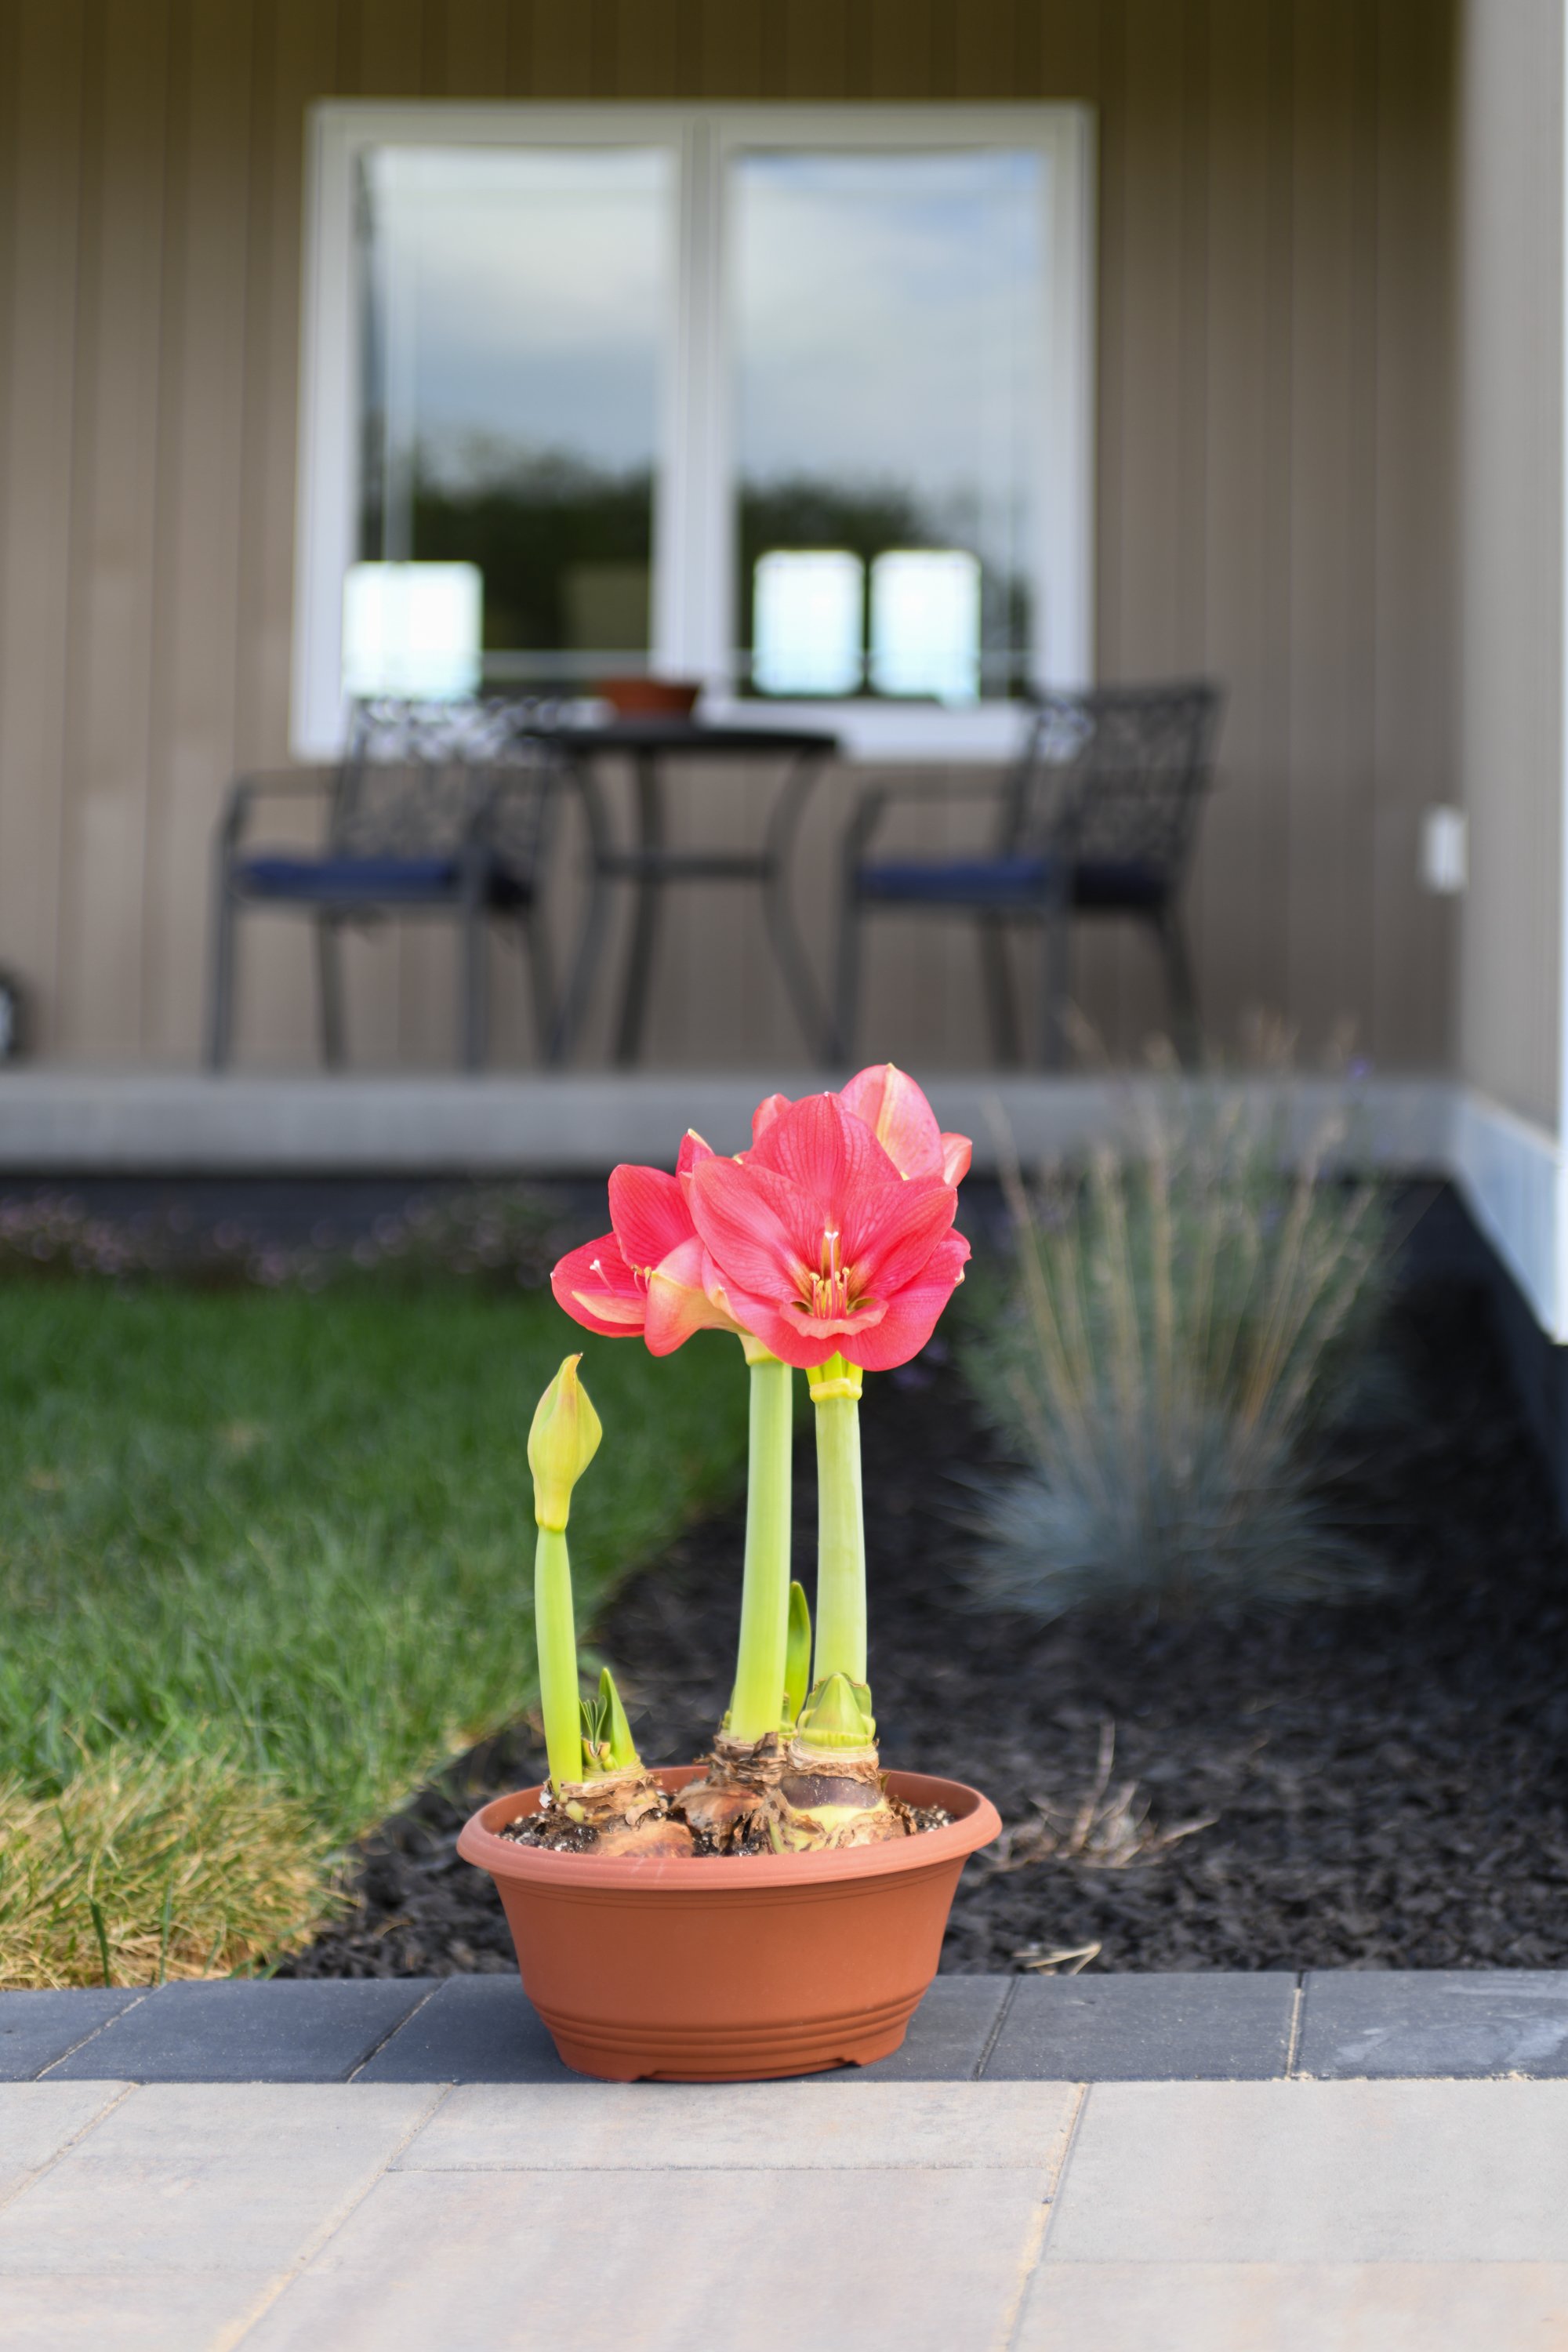
Adding Bloomaker amaryllises to your patio introduces natural splendor, vivid hues, and effortless charm, enhancing your outdoor environment.
Elevate your patio's aesthetic by incorporating creative elements. Place the potted Amaryllis bulbs strategically, using varying heights to create visual interest. Consider adding complementary plants or decorative accessories to complete the look.
Step 8: Monitoring Growth
As your Amaryllis bulbs sprout and grow, keep a watchful eye on their progress. Rotate the containers periodically to ensure even growth and prevent leaning toward the light source.
Step 9: Supporting Blooming Stems
As the stems grow taller and bear blossoms, you may need to provide gentle support to prevent them from bending or breaking. Use discreet stakes or ties that don't detract from the overall beauty.
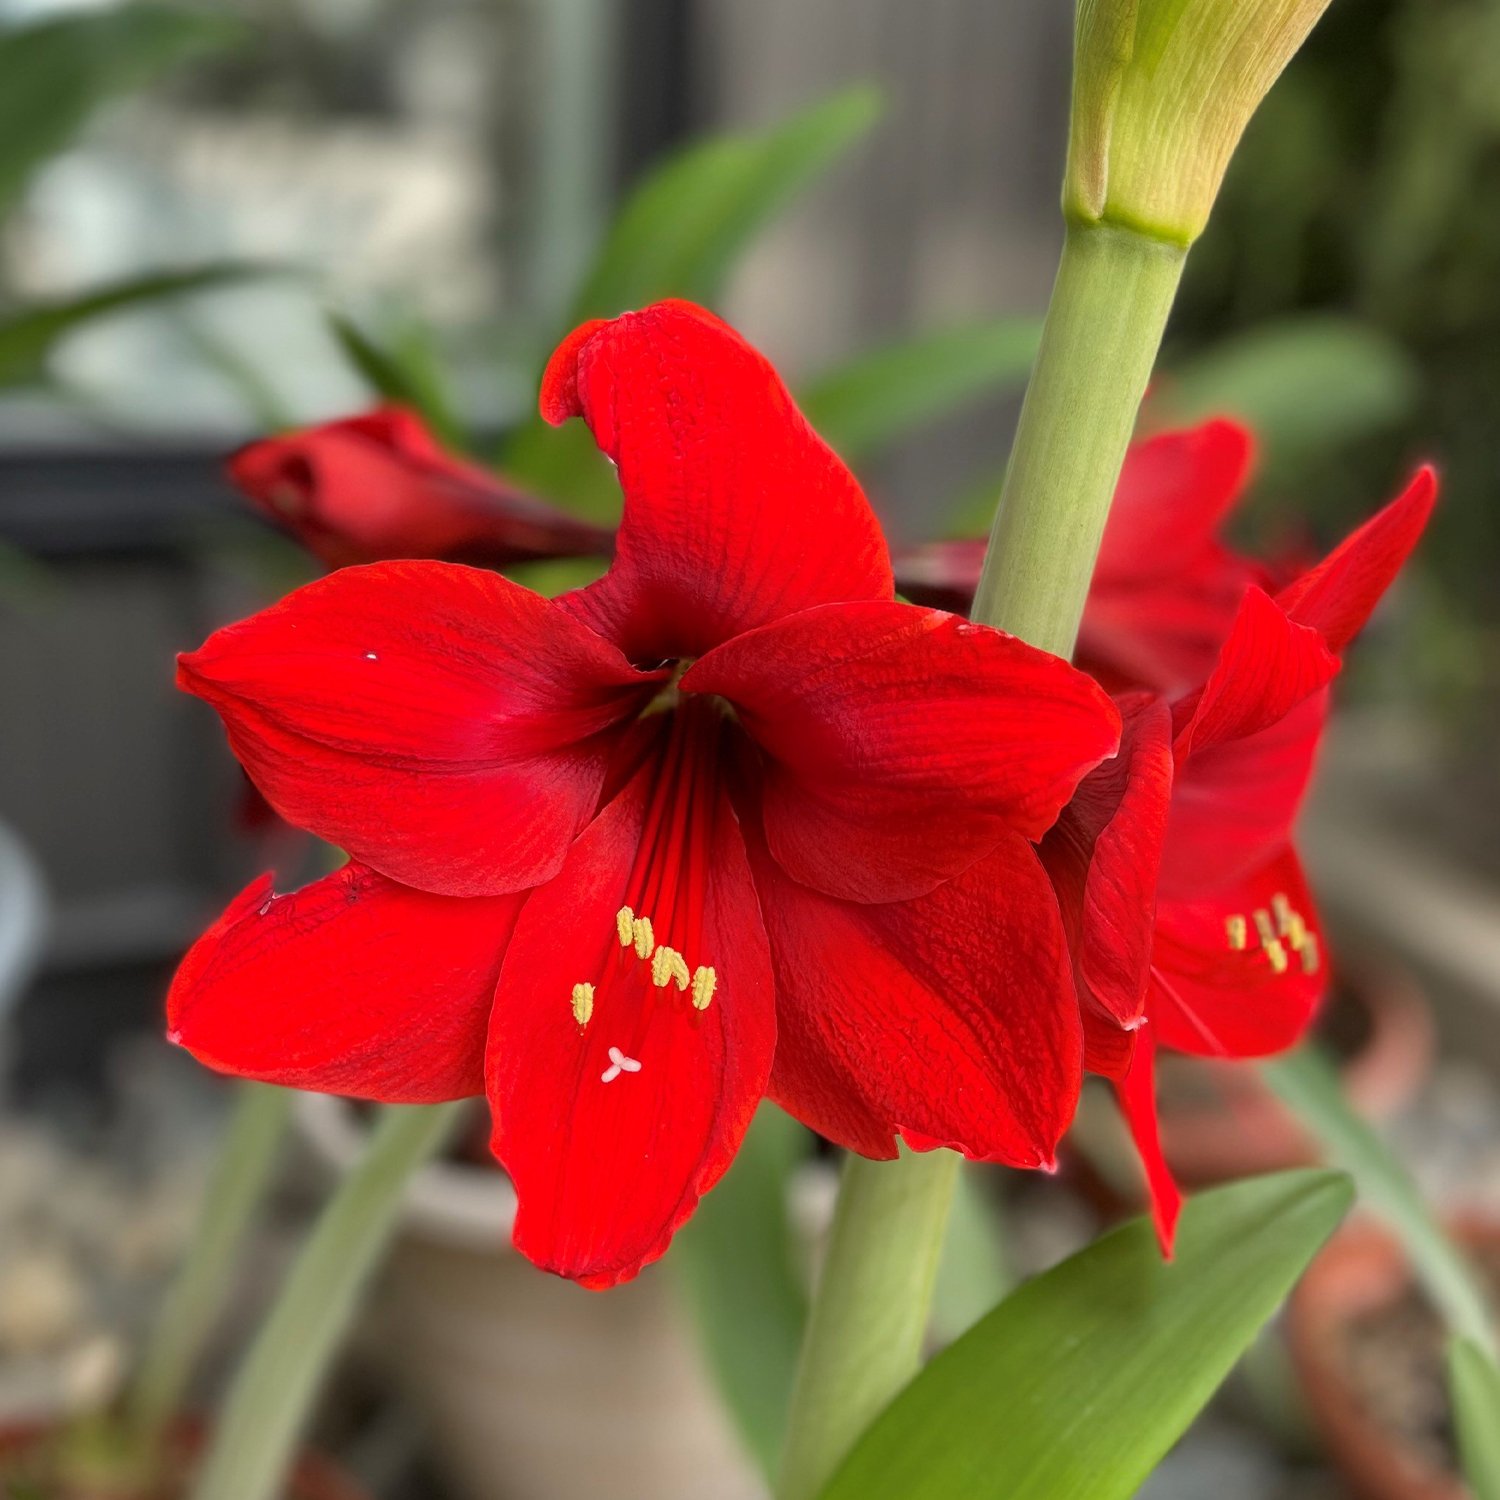
Step 10: Enjoying the Blossoms
Soon, your patio will be adorned with the breathtaking blooms of your Amaryllis bulbs. Revel in the natural elegance they bring to your outdoor space. Feel free to cut a few blossoms for indoor arrangements, allowing you to enjoy their beauty both inside and out.
By following these steps, you can effortlessly incorporate Bloomaker Amaryllis bulbs into your outdoor patio setup. These bulbs not only add color and charm but also evoke a sense of nature's wonder, making your patio an inviting haven of beauty and serenity.
To learn more about Amaryllis bulbs, gardening, and all of the many great types of hydroponically grown plants that Bloomaker offers, check out our online store. We'd also love to hear your feedback, so please reach out and contact us here with any questions, order issues, or concerns.
Showcase Your Patio Blooms and Win with Bloomaker!
Are your Bloomaker Amaryllises gracing your patio with their splendid beauty? We want to see your vibrant displays! Share your blooming wonders by tagging us @bloomaker and using #bloomaker on your social media posts.
As a token of appreciation for sharing the natural elegance you've cultivated, you stand a chance to win a 5-pack of Amaryllis bulbs of your choice. It's our way of celebrating your gardening creativity and embracing the magic you've added to your outdoor space.
To qualify, ensure that the Amaryllis bulbs featured in your pictures are from Bloomaker, and that the photos are your original content – not stock photos. Let your blooms shine, connect with fellow garden enthusiasts, and potentially win more botanical wonders for your collection. Join us in this delightful journey of blossoming beauty!