Amaryllis Potted | FAQ
Below you will find a list of commonly asked questions and answers about Amaryllises
-
They may be the easiest and most impressive flowers you’ll ever grow, with most of the water and nutrients the flowers will need for the season already present inside the bulb.
The Amaryllis is a tropical plant and grows best in warm temperatures. The ideal temperature for them is 68-75º Fahrenheit.
While your Amaryllis plant is growing, you can support the stems if they begin to get longer than 15” otherwise the stems may break and ruin your beautiful flower. -
We recommend a good sized pot for planting your Amaryllis so you can keep about 2 inches of room on the sides. The container may be clay, ceramic or plastic, but should have drainage holes in the bottom!
Place a small amount of potting mix in the bottom of the pot. Center the bulb in the middle of the pot. Then add additional potting mix, firming it around the roots and bulb. Important! Leave the top third of the bulb uncovered.
Nestle the bulb into the center of the container. The bulbs should feel firm and have plenty of room for the roots at the base. Add a little more potting mix, but remember! You have to leave the top third of the bulb uncovered. Tamp down the soil around the bulb with your hands to settle the potting mix.
Little watering is necessary until the bud and stem appears, then you’ll need to water more often. Adding a small amount of water about once a week is more than enough. Care should be taken not to over-water.
To maintain a healthy moisture level around the bulb, your soil needs to be well-draining and moist but not soggy/wet.
See our step by step Amaryllis planting instructions
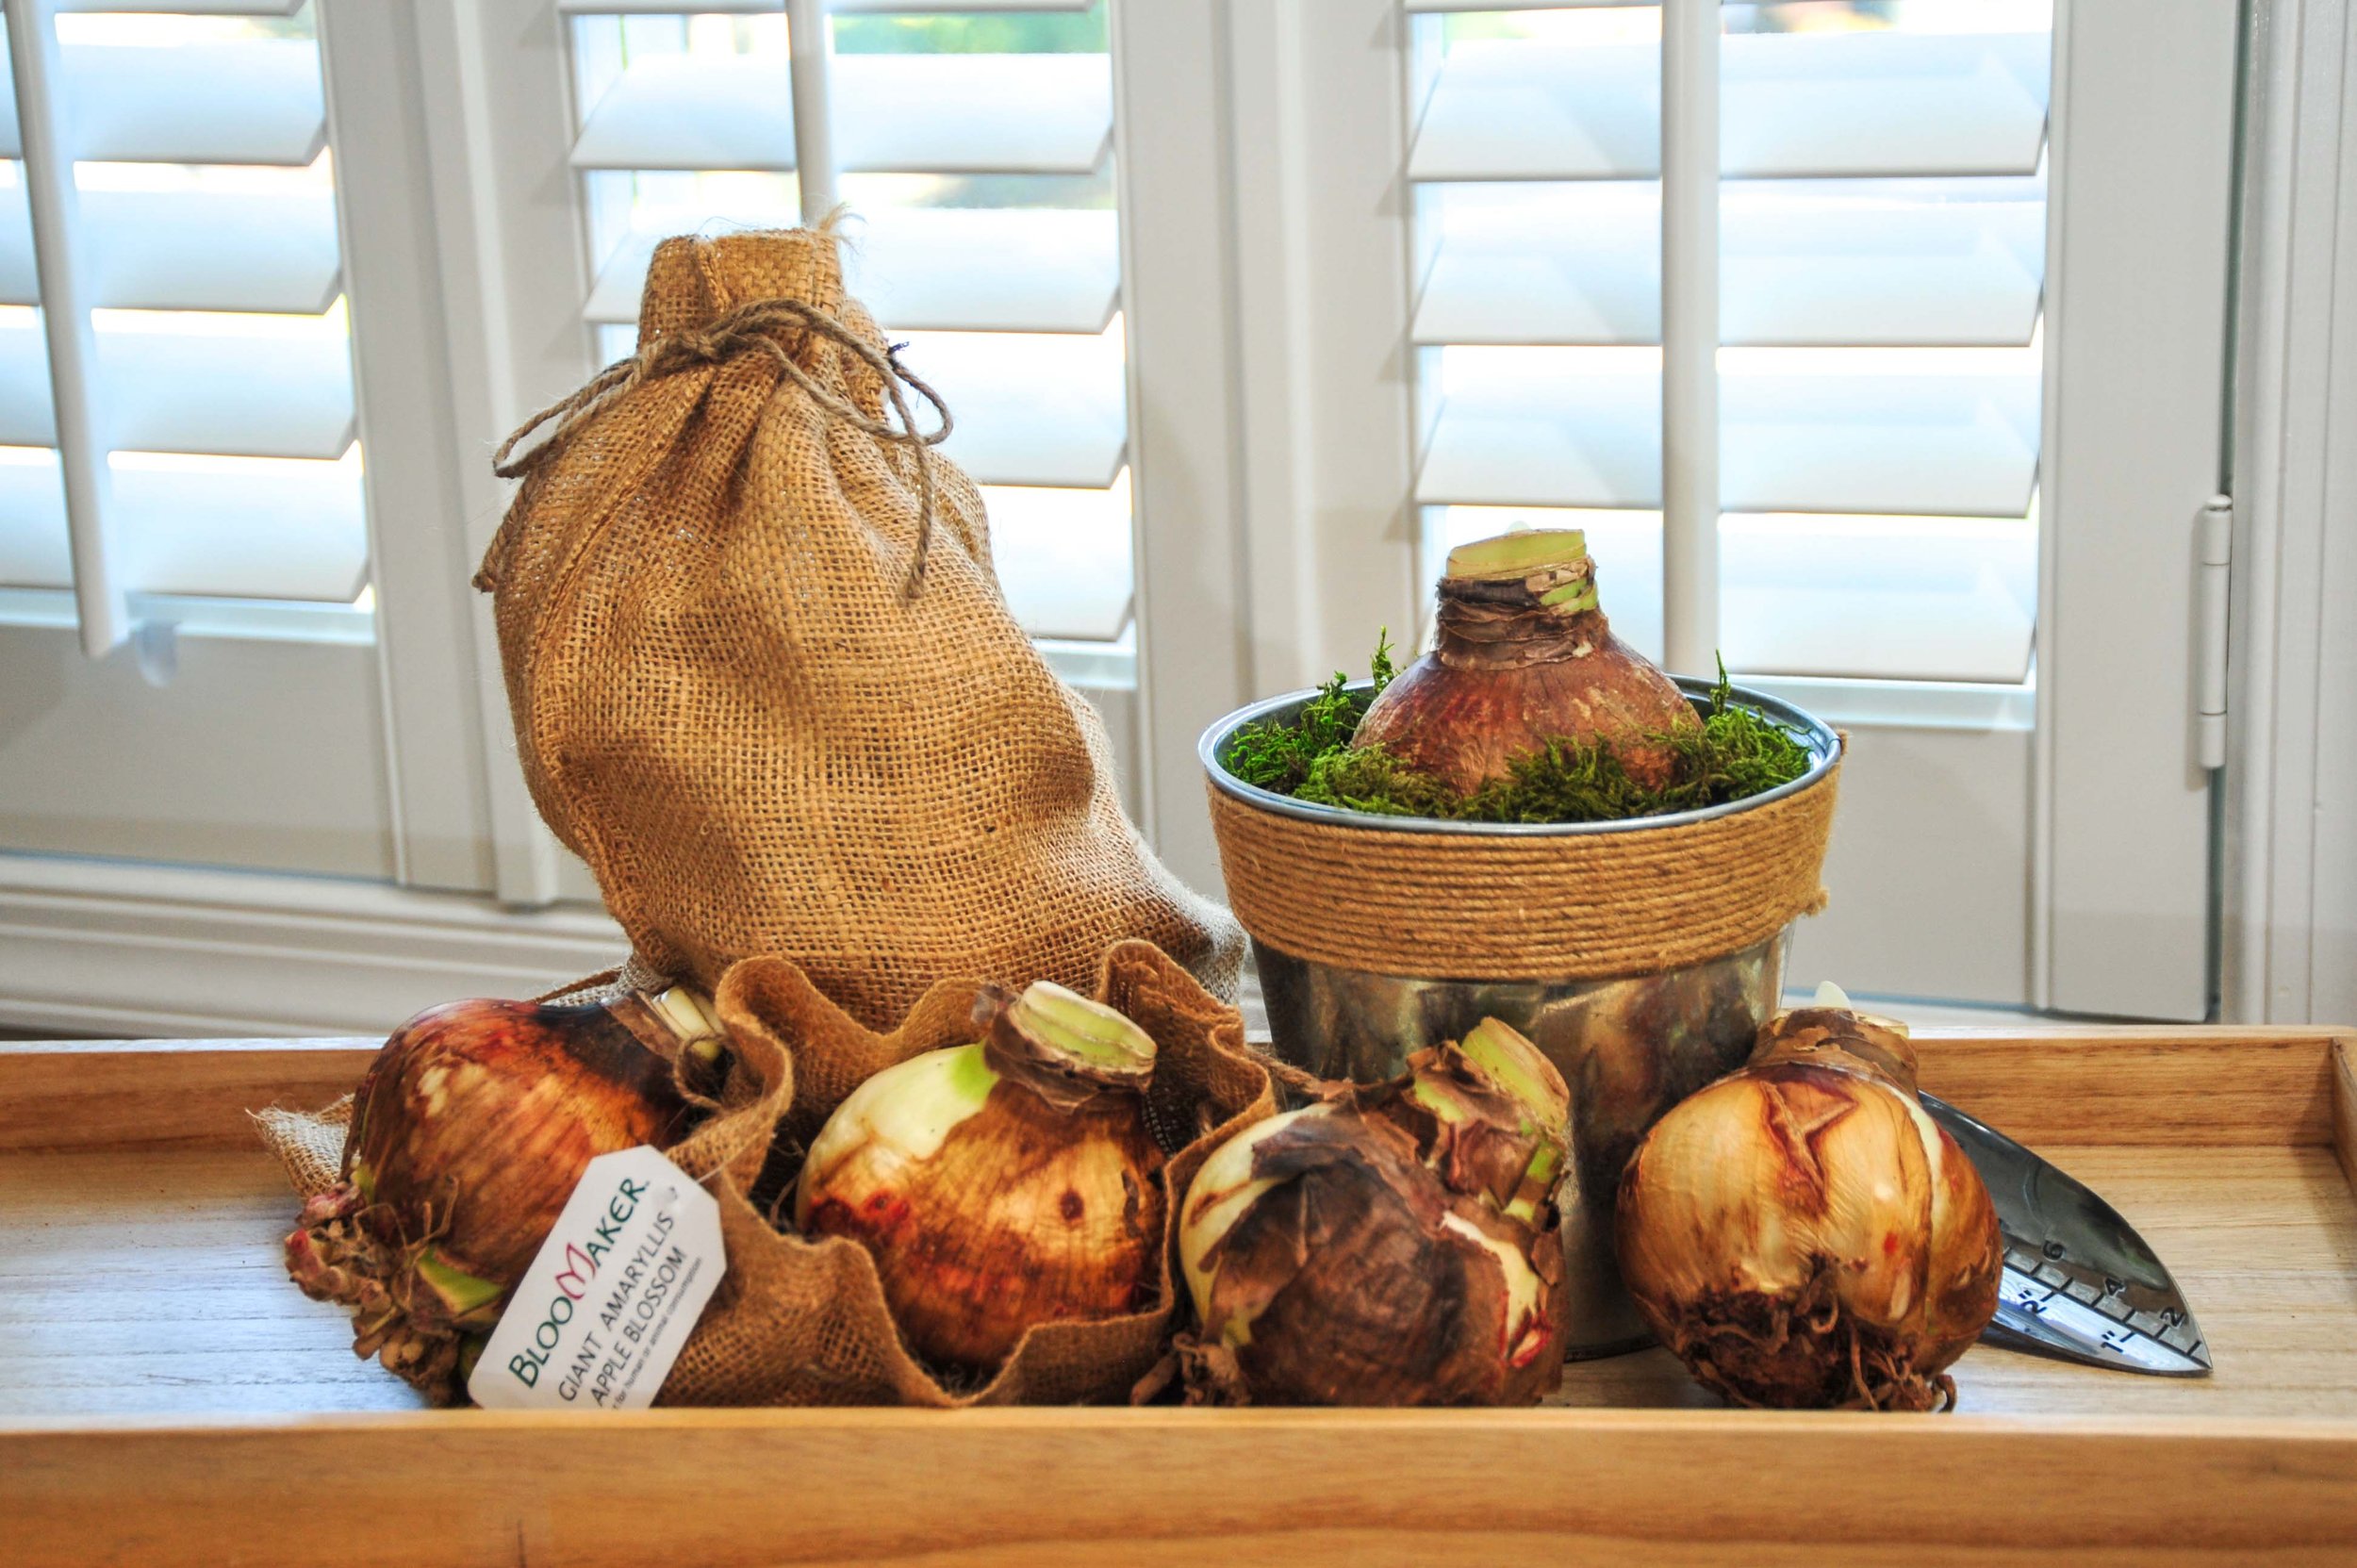
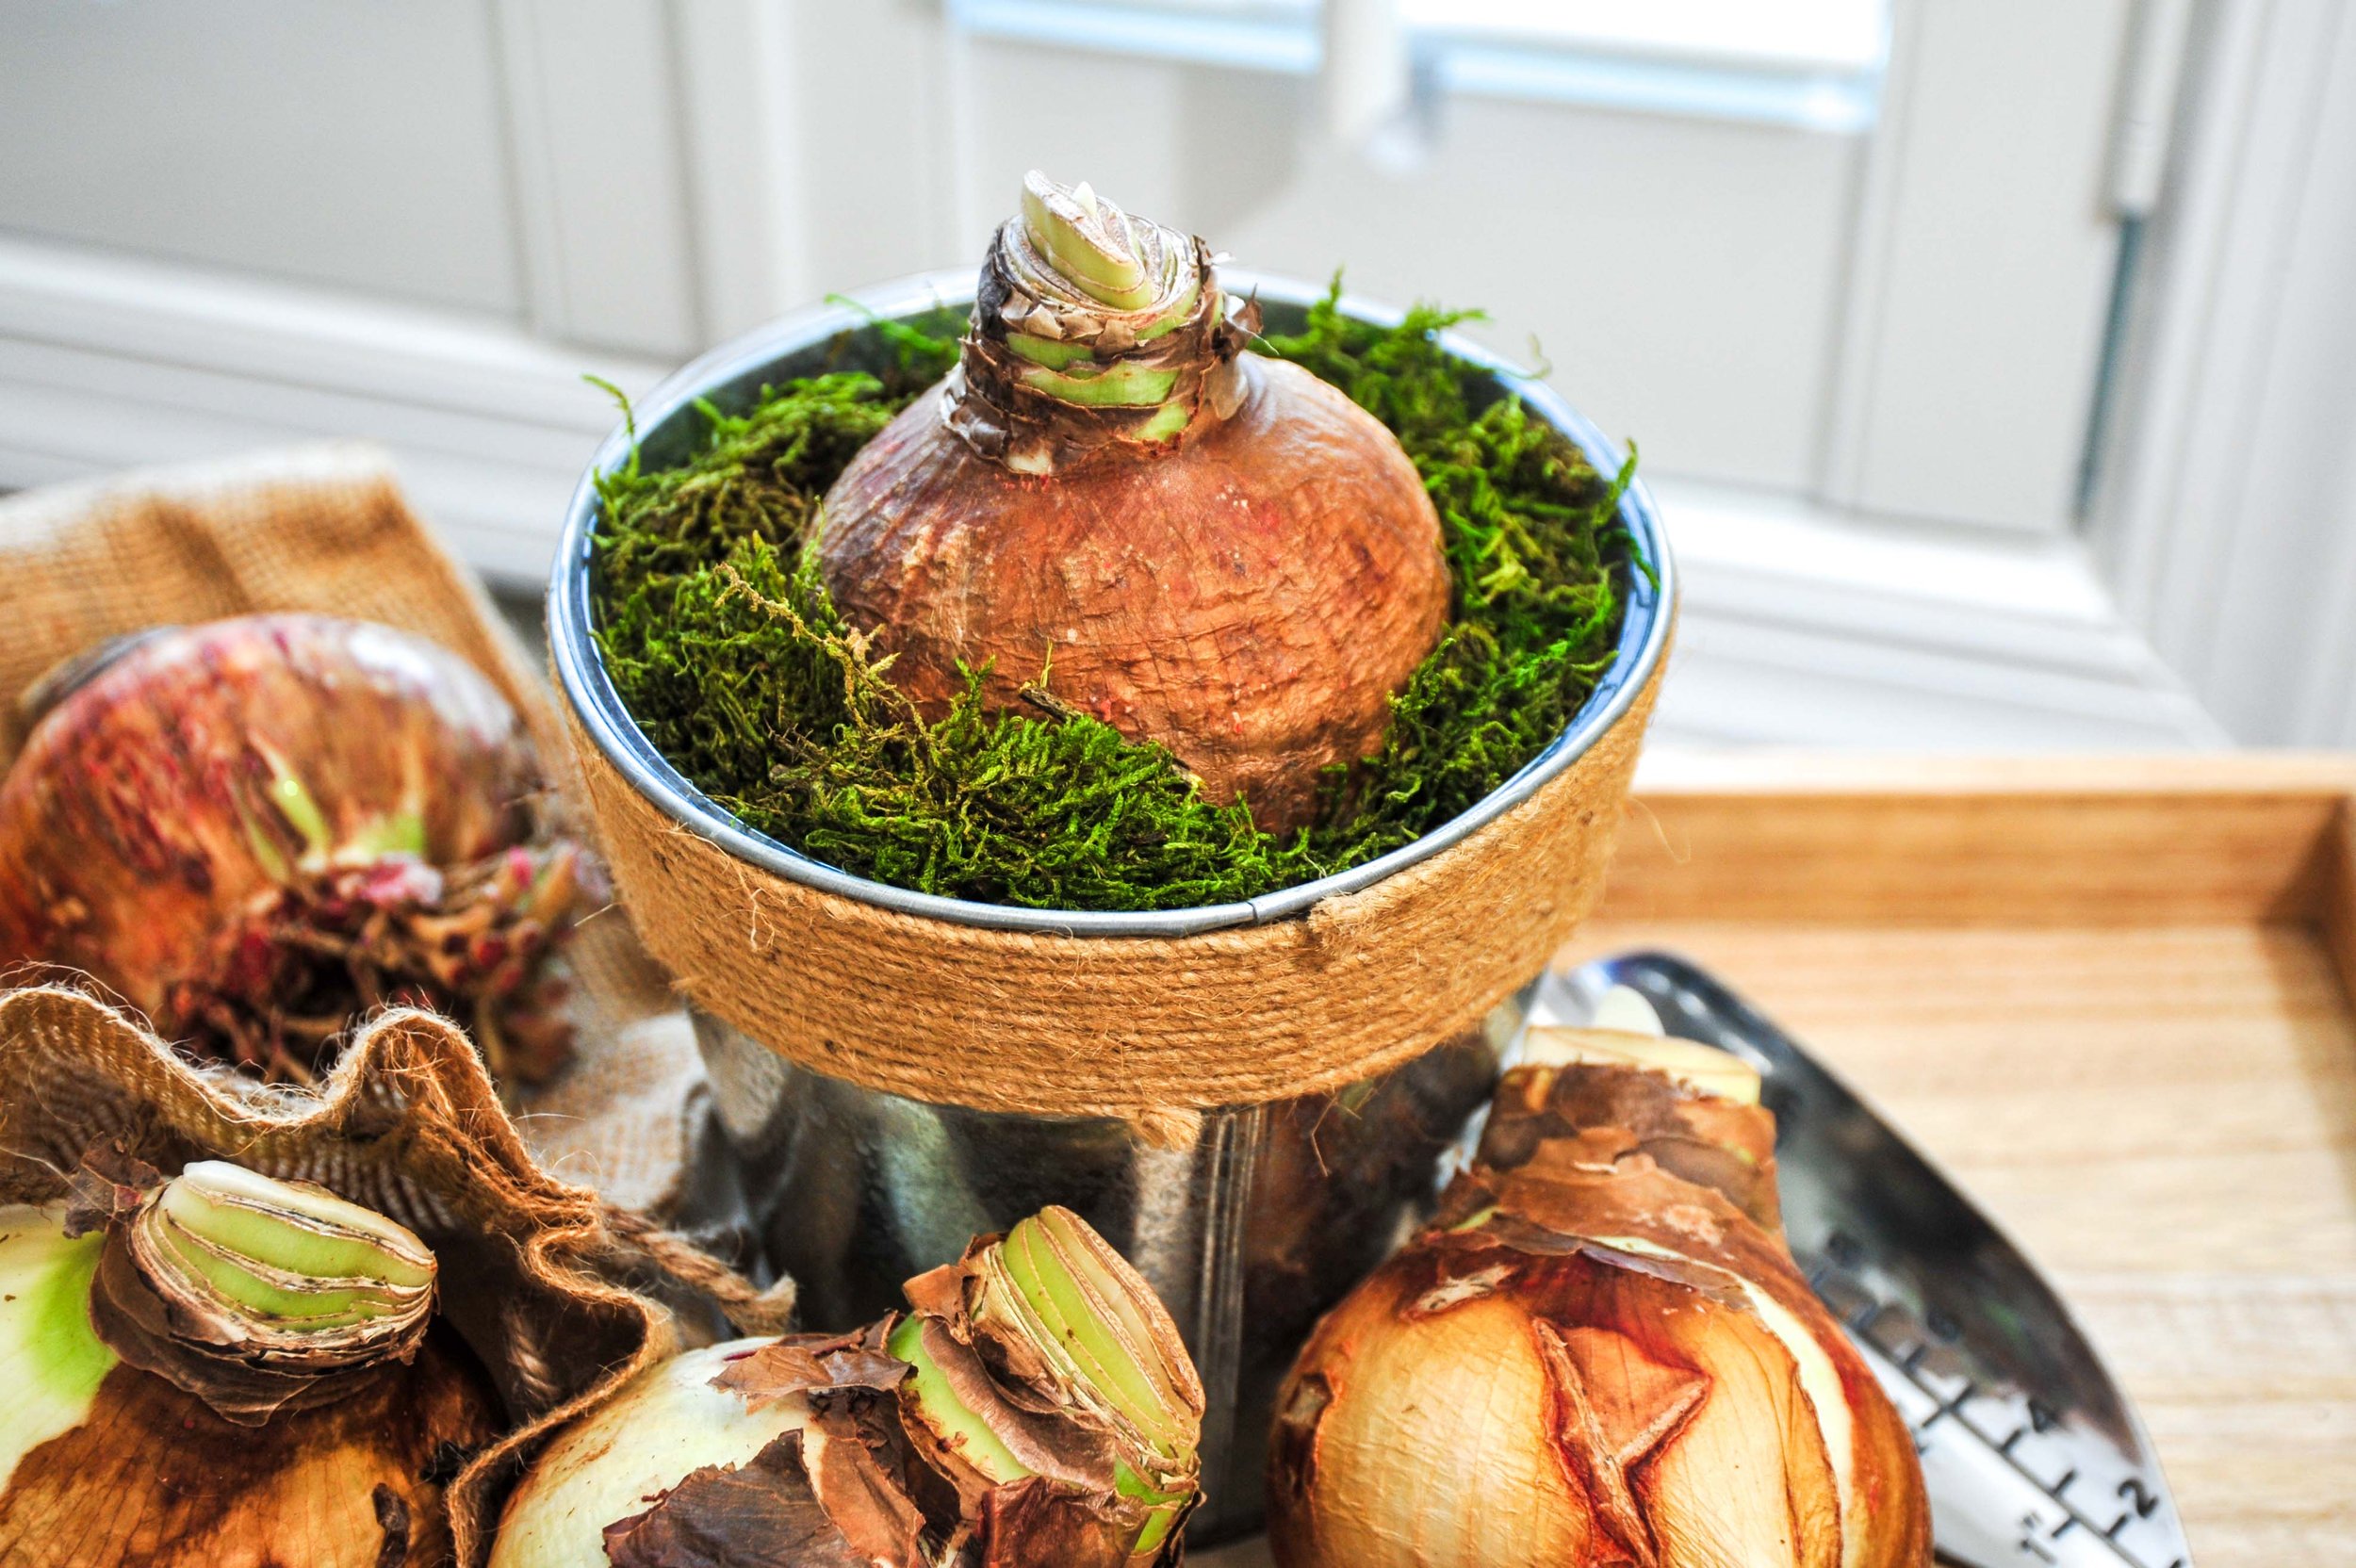
Bloomaker Giant Amaryllis bulb potted and decorated with moss
-
The optimal environment is a room with a lot of natural light with temperatures between 68-77 degrees (F).
In the early weeks prior to sprouting, it is ok to place the potted bulbs in a dark place if the temperature is within range.
After leaf and flower stem(s) begin sprouting, a lower temperature can be beneficial as long as sufficient daylight is available.
Be careful not to expose the bulbs to freezing conditions! -
Water enough to keep the soil moist, and avoid wetting the portion of the bulb that is above the soil.
The first 2 inches of soil need to be damp for proper growth.
To maintain a healthy moisture level around the bulb, your soil needs to be well-draining and moist but not soggy. Care should be taken not to over-water. Adding a small amount of water about once a week is more than enough. -
Please know that every bulb grows at its own rate, and we have no way of controlling when they will actually bloom. Waxed Amaryllis bulbs usually grow at least two stems over 4-5 weeks, producing multiple flowers per stem over the next 3-4 weeks. Blooms should be expected in 8 to 9 weeks after purchase. Some can take even a little longer, around 10 – 12 weeks.
We always recommend trimming withered blooms to promote further growth and to keep the Amaryllis in a well-lit room but avoid direct sunlight. Giving the bulb plenty of natural light will stimulate growth. Rotate it every couple of days to help it grow straighter.
While every effort has been made to describe these plants accurately, please note that the height, bloom time, bloom count and color may differ in various climates. -
In these few weeks you will see stalks coming out of the bulbs en grow taller and taller.
Week 5-6: You should now see the buds growing bigger and bigger.
Week 6-10: The Amaryllis should now show their beautiful blooms and you can enjoy these blooms for several weeks!
Please note: for some amaryllis varieties it can take 4-12 weeks to wake up and start growing. -
The Amaryllis grows toward the sun, so rotating the plant weekly during its growth will help ensure that the plant grows upright.
-
Yes, some shrinkage is very normal. It takes a lot out of a bulb to produce such large flowers. Just think of your bulb as a battery that needs to recharge after blooming.
To recharge your bulb, take the steps described at “What to do after flowering?” -
After 3 months you will likely stop seeing blooms. When your amaryllis bulbs have finished flowering, the bulb is now almost ‘empty’ and needs to be recharged. A resting period allows new flowers to develop from the bulb. You have two options. Either discard the bulbs and purchase new bulb or keep the bulbs growing until they are ready to flower again.
Optimal rest would include (very) good light conditions and preferably a warm climate, averaging 70F to 80F during summer.
Rather save the ones you have? Here’s what you need to do:
Step 1. After all flowers have faded, clip the wilted flower from the stems 1 to 2 inches above the bulb. Do not remove the foliage.
Step 2. If the plant is in a small pot, replant the bulb in a large pot, at least twice the diameter of the bulb. Use a good quality drained planters mix or peat moss.
Step 3. If the bulb is already in a wide pot, replanting is not necessary.
Step 4. Water regularly, using a basic plant feed every two month at a low rate.
Step 5. About 6 to 7 months after flowering, move the plant to a cool location of 50F to 60F for a period of 3 months (indoors or outdoors) temperature is by far the most important.
Step 6. After 3 months, move the plant back to 70F to 80F, cut off the foliage and dry the top the neck with a tissue to prevent neck-rot. Do not water again until new leaves and flower stems appear.
Step 7. After 8 to 10 weeks the Amaryllis may flower again.
Repeat these steps after every flower cycle. -
Step 1. Plant the bulbs in the second half of October or when temperatures will remain 70-80 degrees (F) for the next three weeks. This consistent is needed for rooting and sprouting.
Step 2. After three weeks, temperatures can be slightly lower. Offer limited water.
Step 3. To bloom for Christmas/holidays, give more water to maximize flower size.
Step 4. After flowering, remove old stems. Now the bulb must grow and flowers must develop inside the bulb for the next season.
Step 5. From this period until the beginning of August, there should be good light conditions, temperatures of 70-80 degrees (F), regular watering, and a little bit fertilizer every two months.
Step 6. At the beginning of October, bring the plant back to a warmer place (70-80 degrees (F)). Remove the leaves, and start watering slightly after you see visible leaf and stem sprouting.
Step 7. Your Amaryllis should bloom around Christmas/holidays.
Repeat these steps every year and replant in fresh peat every three to four years after the cool period. -
Sure. To ‘re-build’ the bulbs they must fully grow again (roots, leaves, full sunlight, water, fertilizer). Just like most plants. Any regular fertilizer would do, for example the brand ‘’miracle grow’’. The bulbs need to regain all nutrients like N, P, K, Mg, calcium, etc. These nutrients are found in most ‘common/general’ plant fertilizers.
The type of soil used is important too. Good potting soil has fertilizer and organic material already mixed in, which would provide the plants with enough fertilizer for the first 2-10 weeks. After that it is just adding fertilizer every 2 weeks according to the fertilizer-product label.
The main important thing is that the bulbs get full sunlight again. The leaves coming out of the bulb will need that sunlight to grow the help bulb grow again and develop new flowers.
Ready to give your Bloomaker Amaryllis bulbs new life?
Watch our latest video to discover how you can easily reuse your bulbs and enjoy beautiful blooms again and again! From repotting tips to nurturing advice, we’ve got you covered. Let’s keep the beauty blooming!
I cannot find my question. How do I proceed?
If the answer to your question is not on the FAQ pages, click the Message button in the right bottom corner of the page and type your question.


